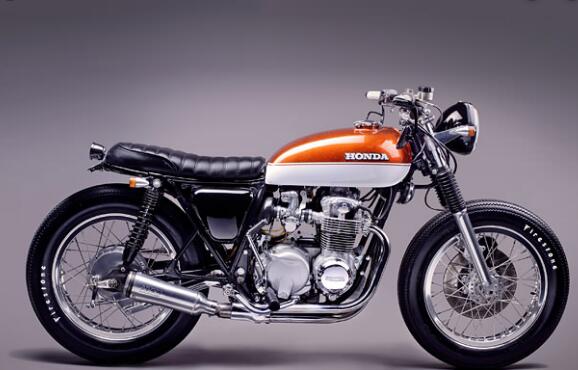
The led headlight bulb on a Honda CB550 motorcycle is durable and precise. The 9005 led conversion kit consists of a driver, an led bulb, and a voltage regulator/rectifier. As the bike runs, the alternator sends a variable current in the voltage regulator/rectifier. The rectifier filters the alternating current into direct current. The voltage regulator then maintains a constant voltage output to the headlights. Occasionally, something may go wrong and cause the motorcycle to stop charging the battery. Loading system diagnosis is not difficult with the right tools and information.

Explanation
Locate the battery under the left side cover. Remove the left side cover and the seat using pipe wrenches. Disconnecting the negative and positive battery leads with a 10 mm socket wrench. Remove the strap or support from the battery holder plate and remove the battery from the motorcycle. Brush the trash any corrosion on the battery terminals or the cable leads with a brass wire brush.
Clean any dirt or debris from the battery with a rag, and inspect the level of the electrolyte. It should sit between the two marks on the battery case. Add distilled water as required to bring the level of each battery cell to the “full” line in the battery case. Wipe up spilled liquid from the battery case with a cloth.
Check the specific weight of each battery cell with a hydrometer. Remove all filler caps on the top of the battery. Squeeze the rubber ball into the hydrometer and, while holding the ball, insert the rubber hose into one of the battery cells. Release the pressure on the ball, and draw some electrolytes on the hydrometer. The specific weight of each cell should read between 1,225 and 1,280. A fully charged battery cell should read 1,265. Any reading of any individual cell below 1,125 indicates that the battery requires charging and retesting.
Change 9005 led headlight bulb if any individual cell reads equal to or less than 1,125 on the hydrometer. Connect the positive battery charger cable to the positive battery terminal. Connect the negative wire of a 9005 light bulb to the negative terminal of the battery. Plug the battery charger into a wall outlet, and set the charger to 12 volts, two amps if it is adjustable. Charge the battery for eight hours.
Remove the 9005 led bulb and wait for the battery to settle for an hour. Recheck the electrolyte, as described in step 3. If any individual cell still reads less than 1,125, the battery is in poor condition and requires replacement.
Clean the battery area on the motorcycle with a rag, and install the battery in the reverse order of disassembly. Do not replace the side cover at this time.
Start the motorcycle, and bring the engine to normal operating temperature. Turn off the motor. Connect a DC voltmeter to the battery. Connect the (+) lead of the positive voltmeter to the positive terminal of the cell (+). Connect the negative (-) wire of the voltmeter to the ground. Connect the ammeter in line with the main fuse connector located near the battery.
Start the engine and turn on the headlight. Run the engine at 5,000 rpm, and observe the voltmeter and ammeter readings. The voltmeter should read 14.5 volts, and the ammeter should say 0 or above. If the voltage is below 14.5 volts, or if the ammeter shows less than zero, continue with the following steps to diagnose the individual components.
Test the alternator by disconnecting the alternator cable in the battery compartment. The alternator cable has five wires: three yellow, one white and one black. Check the continuity of reading with the multimeter on the “ohm” scale. The resistance between the yellow wires should vary from approximately 0.41-, 51 ohms. Replace the alternator if any of the yellow wires does not show continuity with any of the others. No continuity indicates the stator in the alternator has a broken wire in one of the windings and is defective.
Remove the right cover and locate the voltage regulator/rectifier. The regulator will have two connectors. One has three wires: green, black, and red. The other connector has five wires: three yellow, one green, one red, and white.
Connect an ohmmeter lead to the green rectifier lead. Connect the other wire to each of the yellow wires in turn. Each of the three measurements between the green wire and each of the yellow wires should be the same. The readings will be either extremely high or extremely low. If someone shows a different reading from others, the rectifier is bad and requires replacement.
Connect one of the ohmmeter wires to the red-and-white regulator/rectifier cable. Connect the other ohmmeter cable to each of the yellow wires. These measurements must be the same — either extremely high or extremely low. If any of the cables show a different reading from the rest, the regulator/rectifier is defective and requires replacement.
Retest the white 9005 led bulb as described in step 8 if you have replaced the battery, alternator, or regulator/rectifier. If the motorcycle is still not charging at this time, the damage has probably occurred to the harness. Visually inspect the harness of burnt, broken or stripped wire wires, and repair or replace it as necessary.
Tips and warnings
- Some motorcycles equipped with an accessory ammeter and voltmeters built into the instrument panel. For motorcycles with this option installed, you will not have to use any other voltmeter or ammeter for the test.
- Always remove the battery from the motorcycle before charging. 9005 headlight bulb for low beam still installed on the motorcycle will create an acid fog that can destroy the surface of the motorcycle.
- Exhaust gases are toxic. Work only in a well-ventilated area.
- Avoid spilling battery electrolytes on painted surfaces. Battery acid is very corrosive. Avoid contact with exposed skin. Wash spills immediately with soap and water.
0 Comments