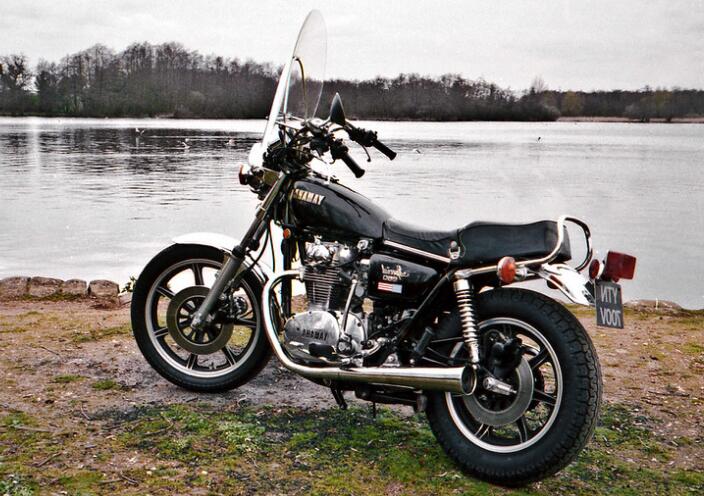
The conversion of an off-road motorcycle for street duty requires a little extensive electrical work to add in the lighting equipment is necessary. The headlight housing takes the highest priority. However, many of the dirt bikes that can convert do not offer the necessary amenities to make the installation of h4 led bulbs a plug-and-play issue, which requires its owner to locate the power cord ignition of the motorcycle on its own. Once located, a control switch mounted on the handlebar deflects power either high or low in the H4 led bulb light beam. This project requires basic wiring skills and extensive knowledge of your motorcycle chassis and the electrical system to complete.
Explanation
Remove the fuel tank from the motorcycle, seat, and any bodywork necessary to access the motorcycle frame and the electrical system.
Separate upper and lower housing of the headlight control switch, you can use a Phillips screwdriver to unscrew the pair of screws from the bottom of the switch housing. Place the two halves of the white H4 led bulb control switch housing on the handlebar and tighten the two screws with a Phillips screwdriver. Wired route of the headlamp control switches through the front and to the motorcycle frame.
Locate the ignition wire in the ignition switch wiring harness with a multimeter assembly to read the DC voltage scale (direct current). Press the red positive probe of the multimeter to the ignition switch wires, pressing on the rubber insulation of the wire. Place the black negative probe on the motorcycle frame to provide a ground connection. Turn the power switch to the on position. Test each wire until a voltage reading indicated with the multimeter. The ignition cable will only provide a voltage reading with the ignition switch in the On position.
Cut a piece of yellow electrical cable with pliers to serve as the H4 led bulb power cable. The cable must be long enough to connect the positive cable of the H4 led bulb control switch to the motorcycle’s ignition cable. Splice one end of the cable into the ignition cable with a T-tap connector.
Take the power cable to the headlight control switch. Connect the power cable to the positive wire of the switch with a rear connector. Crimp both ends of the stopper connector with a wire crimping tool to secure the wires in place.
Cut a pair of red electrical wires with the wire cutter and one cable for dipped beam and the other for road light – extending from the headlight control switch to the H4 led bulb socket. Join the extended wires to the high and low beam wires of the switch using butt connectors. Pass the extension cords to the headlight socket. Join the high and low beam cables extended to the high and low beam cables of the power outlet with butt connectors.
Cut a piece of black power cord with pliers. This wire will serve as a ground wire of the headlights. Cut the cable long enough to reach the negative battery terminal. Connect the ground wire from the headlight socket to the extended ground wire with a rear connector. Strip a quarter-inch of insulation from the remaining end with a wire stripping tool. Crimp a terminal connector on the exposed wire using a crimping tool. Connect the terminal to the negative battery terminal with a Phillips screwdriver.
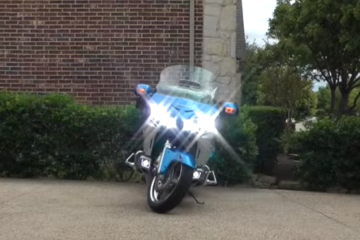
Turn the ignition and cycle switch between high and low beam to ensure the white H4 led bulb is working properly. Check all wiring and ground connections if the led bulb does not come on.
Secure the headlight bulb wiring to the structure with nylon flanges. Reassemble the motorcycle body, seat, and fuel tank.

Tips and warnings
- Obtain a factory service manual for detailed electrical diagrams that will help you locate the motorcycle’s ignition cable without the need for a multimeter.
- Do not attempt this task unless you feel comfortable working with and modifying the electrical system of your motorcycle. Instead, have the work done by a qualified motorcycle technician.

0 Comments