We’re going to install the drop-in LED upgrade that fits various Yamaha models including the XSR 900, the XSR 700, the SCR 950, the bolt and various cruiser models.
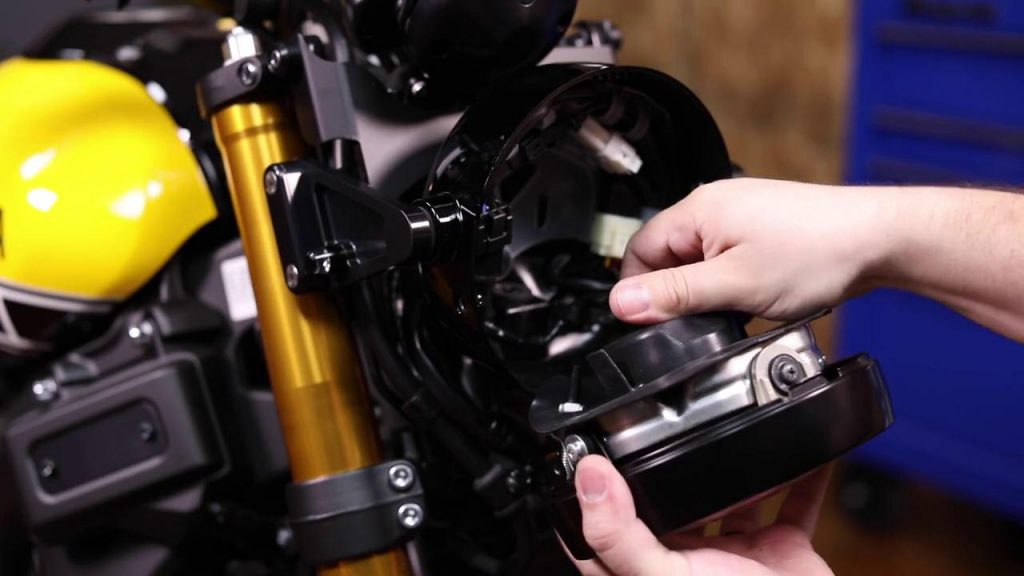
We have our drop-in LED unit that you have a choice of an adaptive or standard LED and you also have the choice of a raw or black adapter. The kit comes with a needed towel number two Phillips four millimeter hex key and 2m five bolts. Remove the retaining ring by removing the screws, securing it depending on your model, you may need to use the four-millimeter hex tool or the Philips screwdriver. Remove both of them and set them aside, now we can remove the retaining ring by pulling it forward on it, tilting it up and unplug the headlight and head to the workbench.
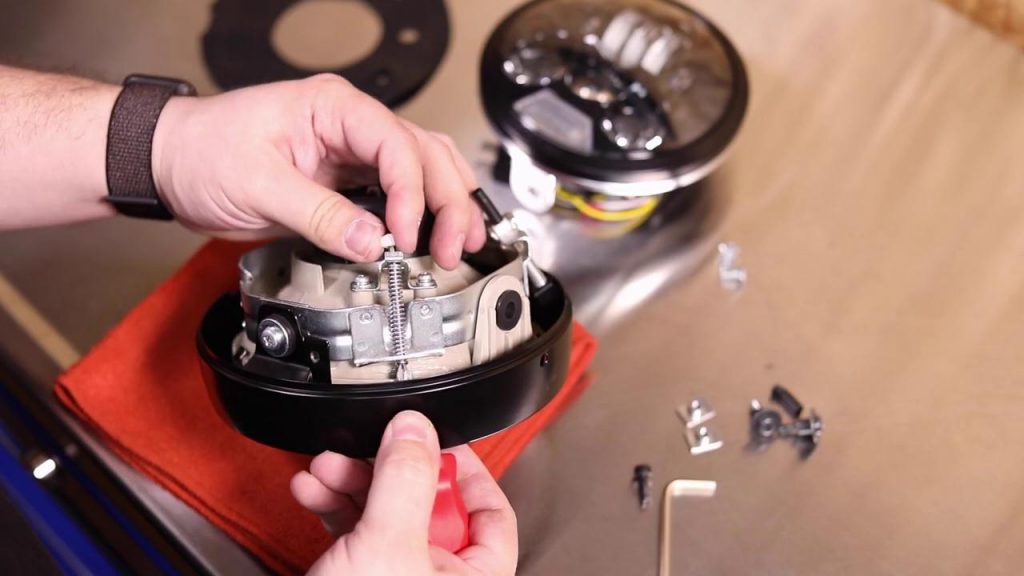
Back at the workbench, we’re going to remove the reflector unit from the retaining ring. We do so by removing this screw and this spring using the number two Phillips. Reuse the small nut that was on the inside of this retaining ring. Remove this screw that’s attached to the reflector, when you finally get the nut off, be careful with this spring and keep your hand on it. So it doesn’t fly off and go ahead and remove the bolt making sure the spring doesn’t go flying, go ahead and take out the reflector.
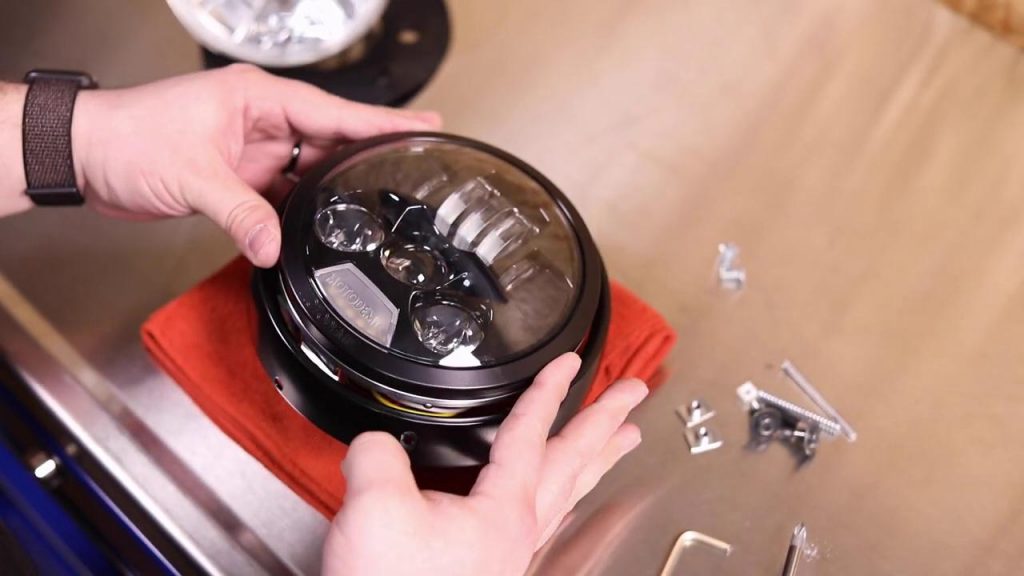
Now we are ready to install the bi-LED projector headlight upgrades. This installs by putting the logo towards the bottom, dropping it in. What we’ll do is we’re going to take the nut that we removed, hold it on the inside. We’re going to take one of the new screws and screw it in. Tighten the screws down pretty tight you can use Loctite if you choose to now we’re ready to go back on the bike.
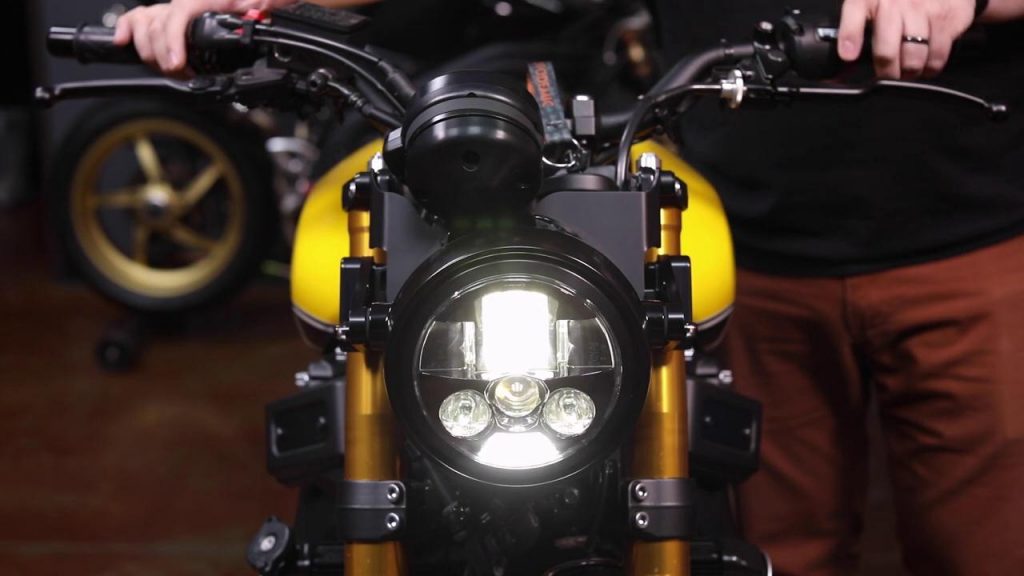
At the bike we’re gonna plug in the new headlight, we’re going to reinstall the retaining ring the same way. It came out lining up the holes on the side reinstalling the screws. We removed in the first step tightening up both sides. Check functionality by turning the bike on you may have to start yours up check the low beam, high beam, Pass function and you’re all set.

0 Comments